Kubernetes and Deploying to Google Container Engine
This is the second part in my series on building and deploying a Rails app using Docker containers and Kubernetes. Find the first part here.
Sharing the App with the World
In part one I showed how to create Docker containers for a Rails app and run those containers locally. Running locally is fun but my end goal is to share my brilliant ToDo app with the world. To do this I need to deploy to a real server. Because I used Docker to containerize my app I’m going to use Kubernetes to deploy it. Kubernetes will take care of some of the low level monitoring and management tasks so that I can focus more on application development.
Kubernetes 101
![]()
Kubernetes is an open source orchestration system for Docker containers. You write a few simple files describing what you want your system to look like and provide a few VMs for running your app. After that Kubernetes takes over monitoring the system and maintaining the desired state.
The most basic unit of Kubernetes cluster is a pod. A pod is a collection of containers that “travel together” and are deployed to the same host. For the ToDo app I have two pods: one for the Rails server and one for the DB. I could put these both together in the same pod but I want the ability to scale each component separately so they’ll be different pods.
In order for my pods to talk to each other I need to set up a service. This is basically a named load balancer that coordinates traffic to a collection of pods. For the ToDo app I need a DB service that allows the Rails servers to talk to the DB. I also need a service so the Rails servers can talk to the outside world.
Finally, I want to have more than one Rails server. Initially, I’ll set up two but I’d like the ability to scale that number up or down depending on predicted load. With Kubernetes you do this with a replication controller.
Deploying with Kubernetes on Google Container Engine
I’m using Google Container Engine to deploy my Rails application. You don’t have to use Container Engine to use Kubernetes. Kubernetes can be used on your own hardware or on VMs but for a quick demo it is easiest to use the hosted Kubernetes provided by Google Container Engine.
Project Set Up
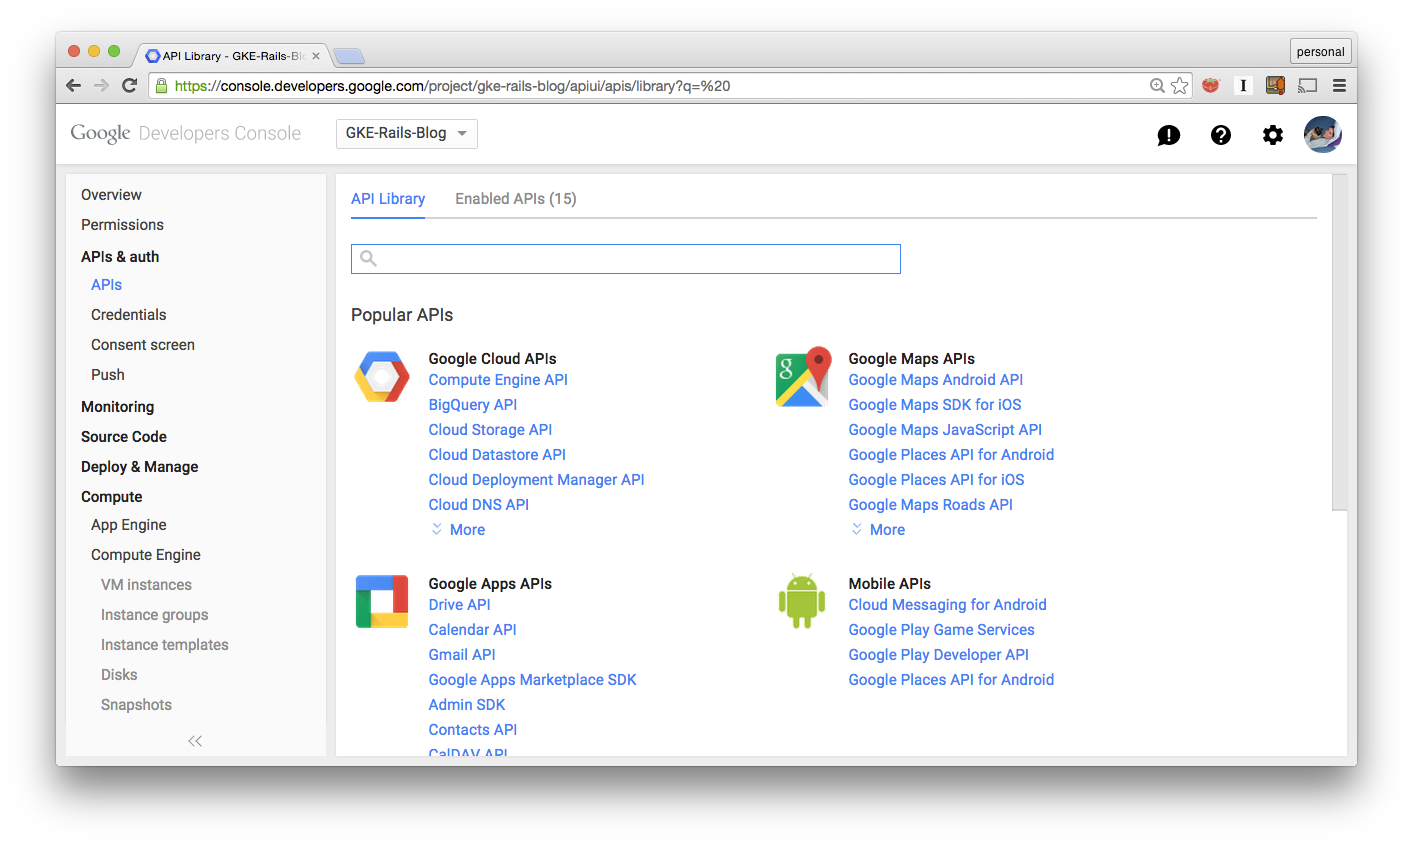
First, I need to create a project on http://console.developers.google.com. Once the project is created I also have to enable the Container Engine API, Compute Engine API, and Cloud Storage API.
To work with Container Engine I need to have the gcloud utility installed on my dev machine. (Instructions for installing gcloud are here). As usual I need to set the project and compute zone in gcloud.
gcloud config set project my-project-id
gcloud config set compute/zone us-central1-f
I’m using us-central1-f because it is close to where I am. If you are in Europe use europe-west1-[bcd]; in Asia asia-east1-[abc].
Finally, I need to create a container cluster with gcloud. I could do this from the UI as well but I prefer the command line.
gcloud beta container clusters create todo
gcloud beta container clusters get-credentials --cluster todo
The get-credentials command writes authentication information to a file so that the Kubernetes command line tool can access it.<
Building and Sharing the Container Image
To deploy my ToDo app to a remote server I need to build my container image and share it in some place I can access from my server. I could use Docker Hub but for projects where you need to restrict access to your image I prefer to use Google Container Registry. To build the Docker image do this:
docker build -t todo .Once the image is built I upload it to Container Registry by doing the following:
docker tag -f todo gcr.io/my_project_id/todo:v1
gcloud docker push gcr.io/my_project_id/todo:v1
Important note: If a project id has dashes in it you need to replace them with underscores for these two commands.
Deploying the Database
Just like with the Docker version of the ToDo app I start by setting up the database. Here’s the configuration for the database pod:
# db-pod.yml
apiVersion: v1
kind: Pod
metadata:
  labels:
    name: db
  name: db
spec:
  containers:
  - image: postgres
    name: db
    env:
    - name: POSTGRES_PASSWORD
      value: password
    - name: POSTGRES_USER
      value: rails
    ports:
    - name: pg
      containerPort: 5432
      hostPort: 5432
This yaml file has almost the exact same information that I supplied at the command line when running Docker locally (passwords and port mappings). To deploy the database pod I use kubectl, which is installed along with gcloud.
kubectl create -f db-pod.ymlThe -f in kubectl create means ‘from file’. Once this runs I check the status of my pods by doing:
kubectl get podsOnce this says “Running” for the db pod my database is up and running.
I want my Rails front end to be able to talk to the db pod so I need to set up a service. Setting up a service is really simple. Here’s the configuration file for the database service:
#db-service.yml
apiVersion: v1
kind: Service
metadata:
  labels:
    name: db
  name: db
spec:
  ports:
    - port: 5432
      targetPort: 5432
  selector:
    name: db
Deploying it is just like deploying the pod:
kubectl create -f db-service.ymlAt this point my database is up and running and other pods in the Kubernetes cluster can talk to it. The next step is to set up the Rails front ends.
Deploying Rails
To deploy the Rails front end I need another pod. In this case I want to have two replicas so I use a replication controller to create and manage them.
# web-controller.yml
apiVersion: v1
kind: ReplicationController
metadata:
  labels:
    name: web
  name: web-controller
spec:
  replicas: 2
  selector:
    name: web
  template:
    metadata:
      labels:
        name: web
    spec:
      containers:
      - image: gcr.io/YOUR_PROJECT_ID_HERE/todo:v1
        env:
          - name: POSTGRES_PASSWORD
            value: password
          - name: POSTGRES_USER
            value: rails
        name: web
        ports:
        - containerPort: 3000
          name: http-server
This file contains a pod specification (under the nested spec key). It also contains information about how many replicas to run, and what labels should be applied to the controller and the pods. If one of the replicas fails Kubernetes will start another within seconds.
In the pod specification I’m passing the credentials for the Postgres database via the env key. Using environment variables isn’t a good idea since I have to put the secrets in source. In a future post I’ll show how to use Kubernetes’ secrets functionality instead. For now I start up the replication controller and pods using kubectl create -f again
kubectl create -f web-controller.ymlI use kubectl get to see the status of both the controller and the pods:
kubectl get rc
kubectl get pods
Since I have two replicas running my Rails code I need a Kubernetes service to load balance between them and to allow access from the outside world. Here’s the service manifest:
# web-service.yml
apiVersion: v1
kind: Service
metadata:
  name: web
  labels:
    name: web
spec:
  type: LoadBalancer
  ports:
    - port: 3000
      targetPort: 3000
      protocol: TCP
  selector:
    name: web
The type: LoadBalancer line is important here. With some managed Kubernetes providers this will automatically create an external load balancer for your application. Google Container Engine supports this feature. To create the service I use the same commands I used to create the database service.
kubectl create -f web-service.yml

kubectl get services
This should show that the web service is up and running.
Accessing The Running Site
At this point all the servers are up and running on Google Cloud Platform but I can’t access them because I haven’t opened up the firewall yet. To open up the firewall I need to figure out the name pattern for my Kubernetes nodes. The easiest way to do this is to ask kubectl.
kubectl get nodesThis should return something that looks like this:
   NAME                          LABELS                                               STATUS
gke-todo-5ccd2616-node-3bj5   kubernetes.io/hostname=gke-todo-5ccd2616-node-3bj5   Ready
gke-todo-5ccd2616-node-7afx   kubernetes.io/hostname=gke-todo-5ccd2616-node-7afx   Ready
gke-todo-5ccd2616-node-fd7e   kubernetes.io/hostname=gke-todo-5ccd2616-node-fd7e   Ready
Copy everything in the name before the last dash. For the data above (my nodes) I need to copy gke-todo-5ccd2616-node. To create the firewall rule that allows traffic into the cluster I use a gcloud compute command.
gcloud compute firewall-rules create --allow=tcp:3000 --target-tags=gke-node-5ccd2616-node todoThere’s a lot going on in that one line. gcloud compute firewall-rules create says I’m creating a firewall rule for my project. --allow=tcp:3000 allows tcp traffic over port 3000 (the default WEBrick port). --target-tags=gke-node-XXXX-node says which vms should be included in the firewall rule. In this case it is the vms for our Kubernetes cluster. Finally the todo on the end is a name for this firewall rule in case I want to reference it later.
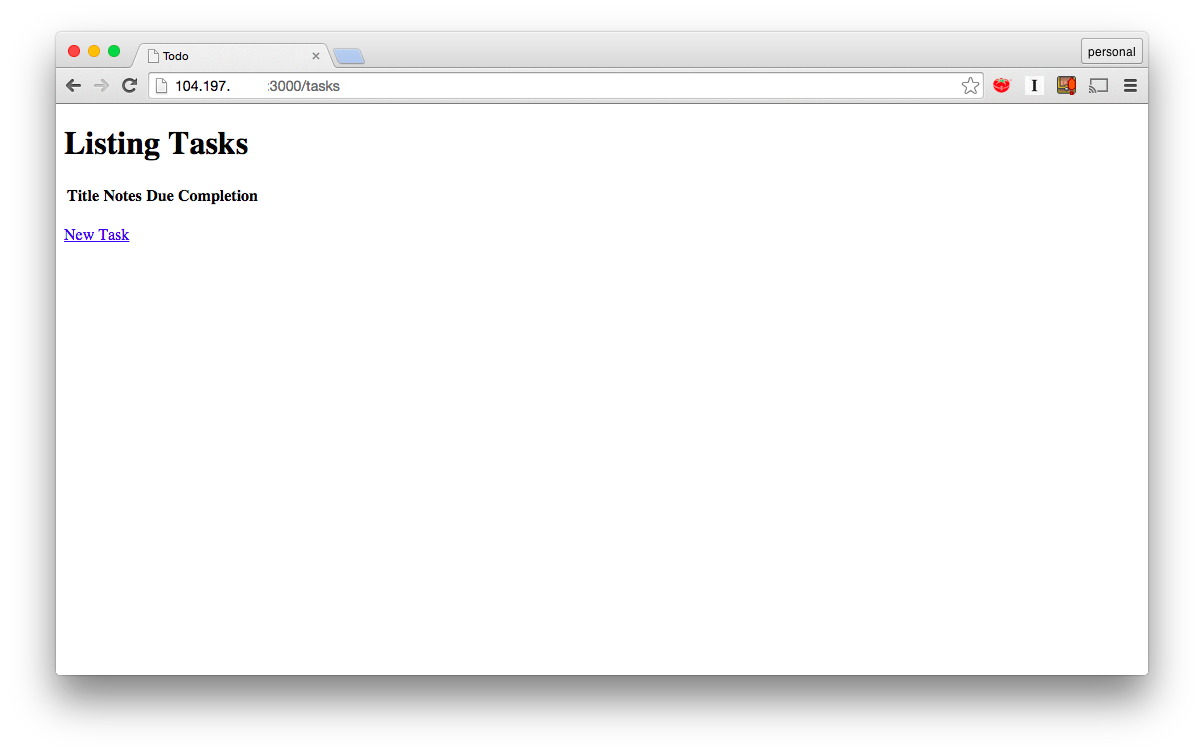
To get the address for my app I need to run:
gcloud compute forwarding-rules listThat produces output that looks like this:
NAME                             REGION      IP_ADDRESS    IP_PROTOCOL TARGET
9ea34fd96220f1e15959942001a0f5ae us-central1 104.197.XXX.XXX TCP         us-central1/targetPools/9ea34fd96220f1e15959942001a0f5ae
When I navigate my browser to http://104.197.XXX.XXX:3000/tasks I get my ToDo list application.