Uploading Cat Pictures w/ Sinatra and Google Cloud Storage
This is an extension of my previous post on running a Sinatra application on Google Container Engine. Once I had a basic Sinatra app running I wanted to see how difficult it would be to add support for uploading files. Because I am working with Google Container Engine it seemed natural to store the files in Google Cloud Storage.
Set Up
Create a Storage Bucket
If you are using Google Container Engine the Google Cloud Storage API is probably already enabled but I double checked before proceeding. Once that is verified make a new storage bucket to hold the uploads. You can do this from the terminal with these commands:
gsutil mb gs://<your-project-id>
gsutil defacl set public-read gs://<your-project-id>
Create Access Keys
Creating the access keys is easiest to do through the UI. Navigate to https://console.cloud.google.com/storage/settings.
Click “Interoperability”. It is under settings in the main panel of the screen.
Click “Create a new key”.
A new row will appear in the table with your access key and secret. Store them somewhere safe.
Create a Service Account
You’ll also need a service account. To create a service account, navigate to the service account page in Cloud Console. https://console.cloud.google.com/permissions/serviceaccounts.
Click “Create service account” and then fill in a name for your service account. I used “Storage Upload”.
Check the box that says “Furnish a new private key” and choose the JSON option from the radio buttons. Then click “Create”.
A JSON file with the public/private key pair will be downloaded automatically. Copy it into the same directory as your Sinatra source so it doesn’t get lost. Considering adding this file to .gitignore so it isn’t accidentally pushed to a public repository.
Updating the App
I used the gcloud gem to access Google Cloud Storage. You could also use a gem like Fog that abstracts away access to multiple cloud providers. I also used haml for creating an upload form.
First thing to do is modify the Gemfile:
# Gemfile
source "https://rubygems.org"
gem "sinatra"
gem "haml"
gem "gcloud"
Now bundle install to download the new gems and their dependencies.
Adding /upload
The next step is adding a new endpoint to web.rb. Since this endpoint will handle uploads I called it upload. I also needed to require both haml and gcloud.
# web.rb
require 'sinatra'
require 'haml'
require "gcloud"

set :bind, '0.0.0.0'

get '/' do
  "hello world"
end

get "/upload" do
  haml :upload
end

# Handle POST-request (Receive and save the uploaded file)
post "/upload" do
  gcloud = Gcloud.new "<your-project-id>", "<path-to-service-account-json>"
  storage = gcloud.storage

  bucket = storage.bucket "<your-bucket-name>"

  bucket.create_file params['myfile'][:tempfile], params['myfile'][:filename]

  return "The file was successfully uploaded!"
end
There’s a lot going on in these changes. First there’s a new get block for “/upload”. This will render the upload form as haml. When someone submits the form it will come back to the server as a post request so there’s an additional block for handling posts from “/upload”.
In the post handler we create a new gcloud object using the project ID and service account key file. We then access storage and create a bucket object using the bucket name we created earlier.
Once we have the bucket, we can create a file using the create_file method. It takes two parameters, the file, and the file name, which I pull out of the param stream.
Finally, I return some text that gets rendered in the browser saying the upload was successful.
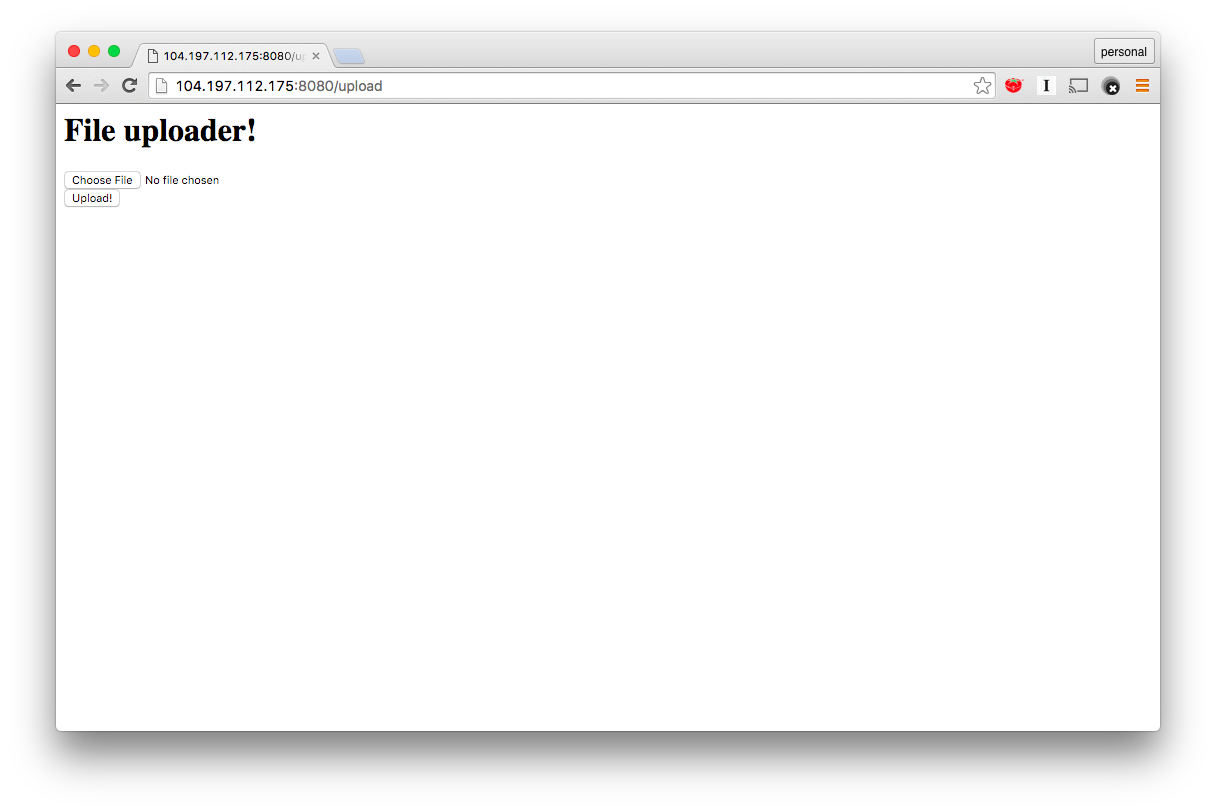
Adding a View
The last thing I need is an upload form. I decided to use haml since it is simple. Views go in a views directory under the project root. Here’s a bare bones file uploader:
-# views/upload.haml
%html
  %body
    %h1 File uploader!
    %form(method="post" enctype='multipart/form-data')
      %input(type='file' name='myfile')
      %br
      %input(type='submit' value='Upload!')
You can test this locally with ruby web.rb. Even when running locally it will upload the file to your Cloud Storage bucket. To see if the file got uploaded you can use the web console at https://console.cloud.google.com/storage/browser.
Deployment
Deployment is basically the same as it was before.
- Build the container
- Push the container to Google Container Registry
- Run the container using Kubernetes
Build and Push the Container
The Dockerfile from the previous blog post still works so we simply need to rebuild the container (to pick up our file changes) and give it a new tag.
docker build -t gcr.io/your-project-id/sinatra:v2 .
gcloud docker push gcr.io/your-project-id/sinatra:v2
Run the container using Kubernetes
This is where things get a little tricky. In the previous post we made a deployment. To update to the new version of the container I’m going to edit the deployment.
kubectl edit deployment sinatraThis will open the deployment spec in your editor. Find the line that looks like this:
gcr.io/your-project-id/sinatra:v1and change it to this:
gcr.io/your-project-id/sinatra:v2Save the file and exit the editor. You should see deployment "sinatra" edited on the command line.
When you go to the url in your browser you should be able to navigate to the /upload path and upload a file to Cloud Storage.